

Welding is more than melting metal together. It is a skill where your safety and final results hinge on how you prep every step. Yet most beginners skip one shocking fact: almost 70 percent of welding accidents happen in the setup phase, not during actual welding. The twist? Mastering the basics of preparation and inspection is what separates pros from everyone else. Get these steps right, and your welds will last for years.
Table of Contents
- Step 1: Gather Essential Tools And Safety Gear
- Step 2: Set Up Your Work Area For Welding
- Step 3: Prepare The Workpieces For Welding
- Step 4: Execute The Welding Technique
- Step 5: Inspect The Welded Joints For Quality
- Step 6: Clean Up And Maintain Your Equipment
Quick Summary
| Key Point | Explanation |
|---|---|
| 1. Invest in Protective Gear | Use a quality helmet, flame-resistant clothing, and sturdy gloves to safeguard against heat and sparks. |
| 2. Create a Safe Workspace | Choose a well-ventilated, non-flammable area and ensure tools are organized and hazards removed. |
| 3. Thoroughly Prepare Metal Surfaces | Clean and align workpieces accurately to ensure strong, consistent welds without contamination. |
| 4. Execute with Control and Precision | Maintain consistent speed and technique during welding to achieve clean, uniform weld beads. |
| 5. Inspect Weld Quality Rigorously | Conduct visual and advanced inspections to detect flaws, ensuring structural integrity of welds. |
Step 1: Gather Essential Tools and Safety Gear
Before striking an arc, professional welders understand that proper preparation determines success and safety. Welding isn’t just about joining metal - it’s about protecting yourself while transforming raw materials into strong, durable connections. This critical first step involves selecting the right protective equipment and gathering specialized tools that will make your welding project both efficient and secure.
Your personal protective gear forms the foundation of a safe welding experience. Safety always comes first, which means investing in high-quality equipment that shields you from intense heat, sparks, and potentially harmful radiation. You’ll need a comprehensive set of protective items that cover your entire body. Start with a professional-grade welding helmet featuring an auto-darkening lens, which automatically adjusts to protect your eyes during different welding phases. These helmets typically have shade ratings between 9-13, depending on your specific welding process.
Beyond eye protection, you’ll require flame-resistant clothing that prevents accidental burns. Check out our guide on construction worker safety gear for additional insights into protective workwear. Choose leather gloves extending past your wrists, a sturdy leather apron, and thick leather work boots with high tops and steel toe protection. Wear long-sleeve, non-synthetic shirts and pants made from heavy cotton or leather to minimize burn risks. Avoid synthetic materials that can melt when exposed to intense heat.
For tools, assemble a comprehensive welding kit that includes:
- Welding machine appropriate to your project
- Welding electrodes or wire
- Angle grinder for metal preparation
- Chipping hammer
- Wire brush
- Metal marking tools
- Measuring tape
- Safety glasses with side shields
Before beginning any welding work, inspect all equipment meticulously. Check electrical connections, verify your protective gear fits correctly, and ensure your workspace is clean and free from flammable materials. A well-prepared welder reduces risks and increases the likelihood of a successful, safe project.
Use this table as a quick reference for the essential tools and safety gear you need to begin any welding project, along with their main functions:
| Item | Function/Purpose |
|---|---|
| Welding helmet (auto-darkening) | Shields eyes and face from arc and sparks |
| Flame-resistant clothing | Protects body from heat and burns |
| Leather gloves and work boots | Shields hands and feet from heat and impact |
| Welding machine | Main device for melting and joining metals |
| Welding electrodes or wire | Supplies filler material for the weld |
| Angle grinder | Cleans and prepares metal surfaces |
| Chipping hammer & wire brush | Removes slag and cleans finished welds |
| Safety glasses with side shields | Provides eye protection during prep |
| Measuring tape & marking tools | Ensures accurate measurement and layout |
Step 2: Set Up Your Work Area for Welding
Preparing your welding workspace is more than just finding a flat surface - it’s about creating a safe, efficient environment that minimizes risks and maximizes performance. Professional welders understand that a well-configured work area can mean the difference between a successful project and a potential disaster. The goal of this step is to transform your workspace into a controlled, secure zone ready for precise metal fabrication.
Location selection is your first critical decision. Choose a well-ventilated area with solid, non-flammable flooring like concrete or metal. Wooden surfaces are strictly off-limits due to fire risks. If working indoors, ensure the space has multiple exit routes and is far from combustible materials. Outdoor welding requires a flat, stable surface protected from wind and potential environmental interference. Learn more about professional work setup in our construction worker safety guide to understand comprehensive workspace preparation.
Before striking an arc, conduct a thorough workspace assessment. Clear the area of any flammable materials like papers, fabrics, chemicals, or wooden structures within a 35-foot radius. Establish a dedicated welding zone by using fire-resistant welding curtains or screens that protect nearby workers and prevent light radiation from affecting others. These screens also help contain sparks and provide a visual boundary for your work area.
Your workspace preparation checklist should include:
- Fire extinguisher within immediate reach
- Welding blankets or fire-resistant floor coverings
- Metal work tables or sturdy welding stands
- Proper lighting to ensure clear visibility
- Clean, organized tool placement
- Dedicated waste metal collection container
Ventilation is non-negotiable in welding environments. Open windows and doors to create cross-drafts, or use industrial fans to move potentially toxic metal fume particles away from your breathing space. For indoor welding, consider portable exhaust systems that directly remove harmful gases and particulates. Always position yourself so that fumes and sparks move away from your body, using natural or mechanical airflow to your advantage.
A final critical step is grounding your equipment and workspace. Ensure all electrical connections are secure, and your welding machine is properly grounded to prevent electrical accidents. Use rubber mats or dry wooden platforms to create an additional insulation barrier between you and potential electrical hazards. By meticulously preparing your work area, you’re not just setting up a workspace - you’re creating a safe, professional environment for precise metal craftsmanship.
Here is a summary checklist to help you prepare your workspace more effectively and ensure safety and efficiency before you begin welding:
| Preparation Task | Purpose | Check Before Welding? |
|---|---|---|
| Remove flammables | Reduce fire hazards in work area | Yes |
| Set up welding curtains/screens | Protect others and contain sparks | Yes |
| Ensure fire extinguisher nearby | Ready for immediate emergency response | Yes |
| Verify proper lighting | Enable clear visibility during welding | Yes |
| Organize tools | Improve efficiency and reduce accidents | Yes |
| Set up ventilation or exhaust | Remove harmful fumes and particles | Yes |
| Ground equipment and workspace | Prevent electrical hazards | Yes |
Step 3: Prepare the Workpieces for Welding
Metal preparation is the unsung hero of successful welding, transforming raw materials into precision-engineered connections. Before any arc touches metal, you must meticulously clean and position your workpieces to ensure a strong, durable weld. Think of this step as creating the perfect canvas for your metalworking artistry.
Surface preparation determines weld quality. Begin by thoroughly cleaning each metal piece using a combination of mechanical and chemical methods. Grab your angle grinder with a wire brush attachment and remove rust, mill scale, paint, and other surface contaminants. For stubborn residues, use chemical degreasers or acetone to eliminate oils, dirt, and oxidation that could compromise your weld’s integrity. Explore more about professional workwear and tool maintenance in our construction worker guide to understand the importance of equipment preparation.
Precise metal alignment is crucial for creating strong, consistent welds. Use magnetic welding squares or clamps to hold your workpieces at the exact angle and position required by your project. Measure twice, weld once is more than just a catchy phrase - it’s a fundamental principle of metalworking. Ensure your pieces are perfectly aligned using a combination of measuring tools like squares, levels, and calipers. Small misalignments can lead to weak joints, uneven penetration, and potential structural failures.
Your metal preparation toolkit should include:
- Angle grinder with multiple attachments
- Wire brushes (steel and stainless steel)
- Chemical degreasers
- Measuring tools (squares, levels, calipers)
- Magnetic welding clamps
- Cleaning rags
- Protective gloves
Consider the specific metal types you’re working with, as different materials require unique preparation techniques. Aluminum, for instance, develops a thin oxide layer that must be carefully removed with a dedicated aluminum wire brush. Stainless steel needs specialized cleaning to prevent contamination that could compromise corrosion resistance. Carbon steel is more forgiving but still requires thorough surface preparation.
Before proceeding, perform a final visual and tactile inspection. Run your gloved hand over the cleaned surfaces to ensure they’re smooth and free from contaminants. Check alignment with your measuring tools, confirming each piece is positioned exactly as your project design requires. By investing time in meticulous preparation, you’re setting the foundation for a professional-grade weld that will withstand significant stress and environmental challenges.

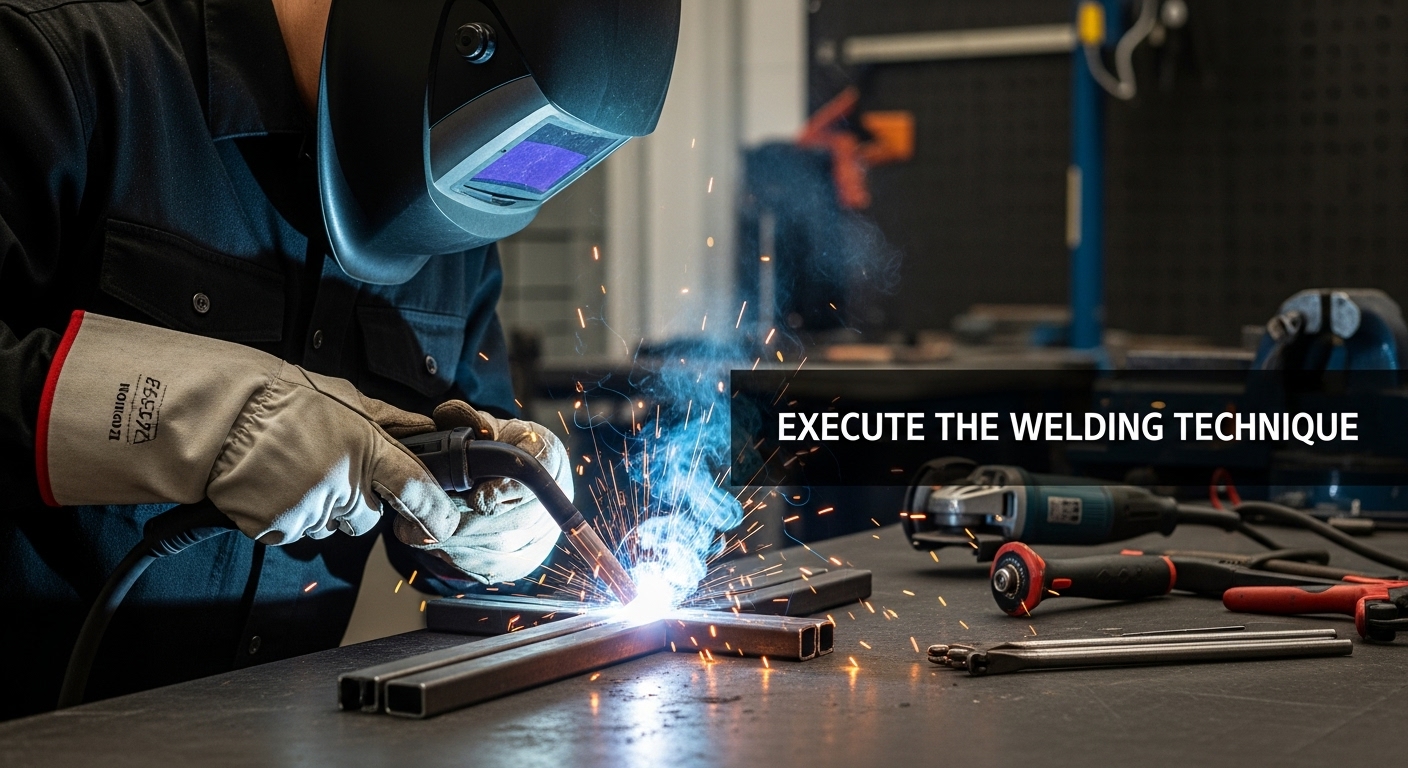
Step 4: Execute the Welding Technique
Welding is a precise dance of heat, metal, and technique where every movement counts. Executing the right welding technique transforms your carefully prepared workpieces into a strong, unified structure. Your success depends on maintaining consistent control, understanding the nuanced interactions between your equipment, and adapting your approach to the specific metal and project requirements.
Arc initiation is the critical first moment of your welding execution. Position your welding electrode or torch at a 15-degree angle to the metal surface, maintaining a consistent distance typically between 1/8 to 1/4 inch from the workpiece. Strike the arc confidently but smoothly, allowing the electrode to create a stable electrical connection. Explore more about professional work techniques in our construction worker safety guide to understand the subtleties of professional skill execution.
Your welding motion should be deliberate and controlled. Move the electrode or welding torch in a steady, consistent pattern - typically a slight weaving or zigzag motion that ensures even heat distribution and thorough metal penetration. The speed of your movement is crucial: move too slowly, and you’ll create excessive heat buildup and potential burn-through; move too quickly, and you’ll produce a weak, incomplete weld. Professional welders develop an intuitive sense of the perfect travel speed through practice and muscle memory.
Key welding technique considerations include:
- Maintaining consistent arc length
- Controlling travel speed
- Managing electrode angle
- Monitoring heat input
- Watching puddle formation
- Maintaining steady hand movement
Different welding processes demand unique approaches. Stick welding requires a rhythmic motion of creating and maintaining the electrical arc while managing electrode consumption. MIG welding involves a more continuous wire feed and smoother motion. TIG welding demands exceptional hand stability and precise heat control. Regardless of the method, focus on creating a clean, uniform weld bead that penetrates deeply and creates a strong metallurgical bond.
Verify your technique’s success by examining the weld bead immediately after completion. A high-quality weld should appear smooth, consistent, and free from excessive splatter or irregular formations. The bead should blend smoothly into the base metal without significant undercutting or overlap. By maintaining focus, controlling your movements, and understanding the nuanced interactions of heat and metal, you transform raw materials into precision-engineered connections.
Step 5: Inspect the Welded Joints for Quality
Welding isn’t complete when the arc stops - it’s complete when you’ve confirmed the structural integrity of your work. Quality inspection transforms a good weld into a reliable, safe connection that can withstand real-world stress and environmental challenges. Professional welders understand that visual examination is just the beginning of a comprehensive quality assessment.
Start with a detailed visual inspection under bright, consistent lighting. Look for telltale signs of potential weakness: irregular bead formation, excessive splatter, visible cracks, or incomplete fusion between the base metal and weld material. Surface appearance tells a story about your welding technique and the joint’s potential durability. Run your gloved hand carefully along the weld, feeling for unexpected bumps, deep grooves, or uneven transitions that might indicate underlying structural issues. Learn more about professional work techniques in our construction worker safety guide to understand comprehensive quality assessment.
Beyond visual inspection, you’ll need specialized tools to evaluate weld quality comprehensively. A magnetic particle inspection kit can reveal hidden surface and near-surface discontinuities that escape visual detection. For critical applications, consider using ultrasonic testing equipment that sends sound waves through the metal to identify internal defects. These advanced techniques provide a deeper understanding of your weld’s true structural integrity.
Critical inspection criteria include:
- Consistent bead width and height
- Smooth transition between weld and base metal
- No visible cracks or porosity
- Proper penetration depth
- Absence of undercut or overlap
- Uniform color and texture
Documentation is a crucial yet often overlooked aspect of weld inspection. Create a detailed inspection report noting the welding process used, any detected imperfections, and measurements of key characteristics. For professional or structural projects, this documentation serves as a critical record of quality assurance. Some welding certifications require comprehensive inspection reports, making thorough documentation not just good practice, but often a professional requirement.
Remember that imperfect welds are opportunities for improvement, not failures. If you detect issues, don’t get discouraged. Analyze the root cause - was it technique, equipment, or preparation? Each imperfection teaches valuable lessons that refine your welding skills. By approaching inspection with a critical yet constructive mindset, you transform each weld into a chance to demonstrate your growing expertise.
Step 6: Clean Up and Maintain Your Equipment
Equipment maintenance isn’t just a final task - it’s the foundation of a professional welder’s long-term success. Your welding tools are investments that require consistent care to ensure peak performance, safety, and longevity. Proper cleanup and maintenance protect both your equipment and your future projects.
Begin by thoroughly cleaning your welding surfaces and equipment while they’re still slightly warm - not hot. Use wire brushes to remove slag, spatter, and accumulated metal debris from your welding machine, electrodes, and work surfaces. For more delicate components, employ specialized cleaning solutions designed specifically for welding equipment. Pay special attention to electrical connections, ensuring they’re free from moisture, dust, and metal particles that could compromise future performance. Explore more about professional equipment care in our construction worker safety guide to understand comprehensive maintenance techniques.
Electrical equipment demands meticulous inspection after each use. Check welding cables for any signs of wear, fraying, or damage that could create electrical hazards. Examine electrode holders, ground clamps, and connection points for signs of excessive heat or wear. Small maintenance steps prevent catastrophic equipment failures. For gas welding equipment, carefully inspect gas lines, regulators, and torch connections. Ensure all valves are closed, and store gas cylinders in an upright position in a well-ventilated, secure area away from potential heat sources.
Essential post-welding maintenance tasks include:
- Cleaning all metal surfaces
- Inspecting electrical connections
- Checking cable integrity
- Lubricating moving parts
- Storing equipment properly
- Documenting any equipment issues
Create a dedicated storage system for your welding equipment. Store sensitive electronic components in dry, temperature-controlled environments. Use protective covers to shield equipment from dust and potential damage. Organize your tools and accessories systematically, making future projects more efficient and reducing the risk of misplacing critical components. Consider creating a maintenance log to track equipment performance, repairs, and potential replacement needs.
Remember that professional welders treat their equipment like trusted partners. Each cleaning, each careful inspection is an investment in your craft. By dedicating time to thorough maintenance, you’re not just preserving tools - you’re ensuring your ability to create precise, reliable welds in every future project. Your equipment’s longevity depends on the care you provide after the last spark has faded.
Gear Up for Every Weld: Workwear That Works as Hard as You Do
Every great weld begins with careful preparation, the right tools, and unwavering attention to safety. If you have ever faced discomfort, distraction, or worry about protection on the job, you know how quickly these issues can disrupt your focus and put your safety at risk. The article “How Does Welding Work: Master the Welding Process” explores the critical role of proper personal protective equipment, comfort, and confidence while handling intense heat and sparks. Your work should never be compromised by inadequate gear, and your clothing should stand up to every challenge just as you do.

Take the next step toward mastery by wearing workwear built for reliability and resilience. Discover workwear designed for welding and trades that keeps you comfortable through long shifts and protected when it matters most. Whether you are searching for flame-resistant fabrics, UPF 50+ sun shielding, or attire that shows your pride and personality, WorkwearComfort has you covered. Make safety and professionalism your daily uniform and check out our collection now at WorkwearComfort.com. Your safety and success start with what you wear—shop now to upgrade your everyday work gear.
Frequently Asked Questions
How important is safety gear when welding?
Safety gear is crucial to protect against intense heat, sparks, and harmful radiation. Essential items include a professional-grade welding helmet, flame-resistant clothing, leather gloves, and appropriate work boots.
What tools are essential for a welding project?
A comprehensive welding kit should include a welding machine, electrodes or wire, angle grinder, chipping hammer, wire brush, metal marking tools, measuring tape, and safety glasses with side shields.
How do I prepare metal surfaces before welding?
Clean each metal piece thoroughly using an angle grinder and chemical degreasers to remove rust, paint, and contaminants. Proper aligning and positioning of the workpieces using clamps and measuring tools is also essential for strong welds.
What should I inspect after finishing a weld?
Conduct a detailed visual inspection for irregularities like cracks or uneven bead formation. Use specialized tools like magnetic particle inspection kits for deeper assessments of weld quality and document your findings for quality assurance.